Installing TangoPBX Distro from ISO - Wiki

The TangoPBX Distro is distributed as an ISO. All versions are available for download here, to get the current version download from:

https://repo.tangopbx.org/repository/isos/TangoPBX-22.04.5_1.0.0-RC4.iso

If installing to hardware, write the ISO to installation media such as a USB drive. If using a VM, mount the ISO as a boot device. Follow whatever methods you need to in order to create bootable install media using the TangoPBX ISO and then boot from this media on the target system.

The example below shows the installation procedure from start to finish. The installation is happening on a low spec VM provided by Vultr with 2GB of RAM. We experienced install failures on systems with 1GB of RAM.

Installation Walkthrough

Boot the system from ISO installer
The first screen to be displayed is the GRUB install menu


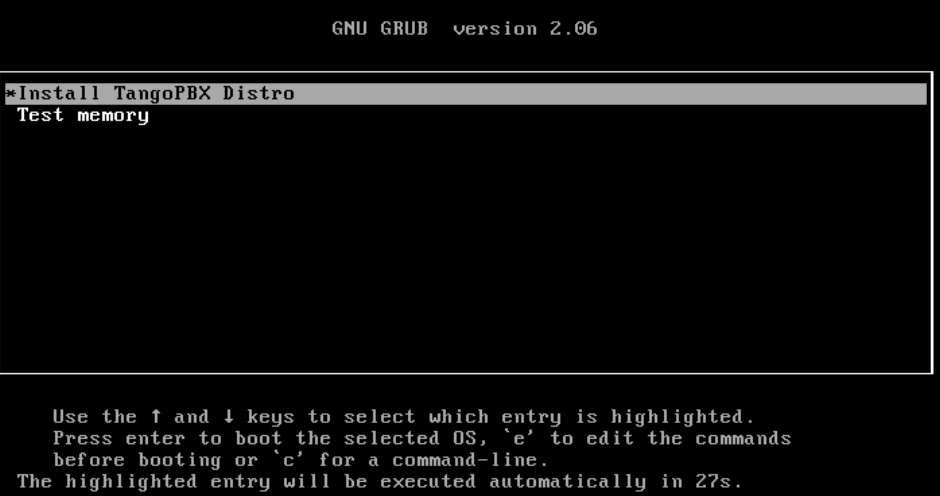
Select the option to “Install TangoPBX Distro” or let the counter timeout.

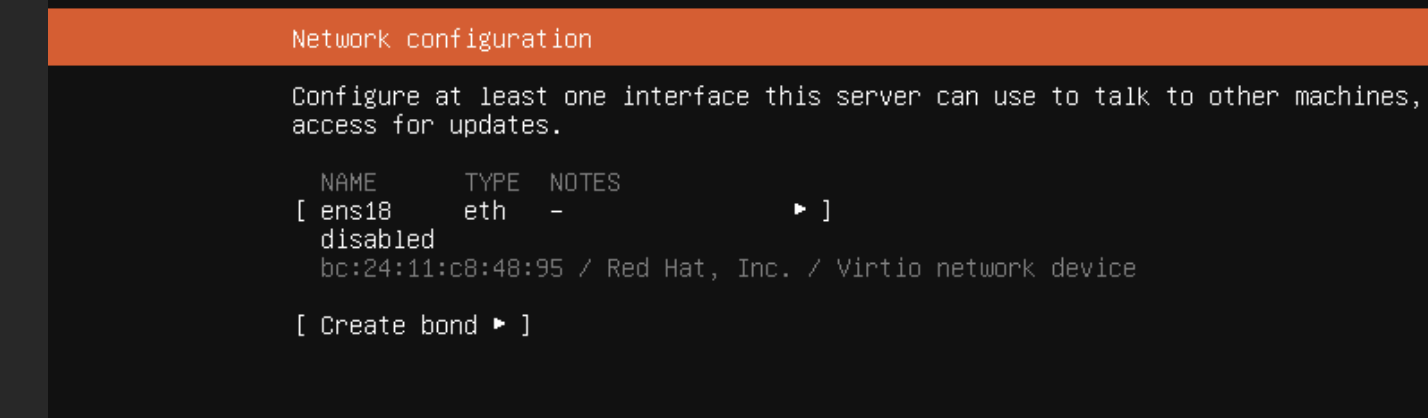
At this point in the process there may be a delay with nothing being echoed to the console, but eventually the installer proceeds until it comes to a stop on the network configuration screen:

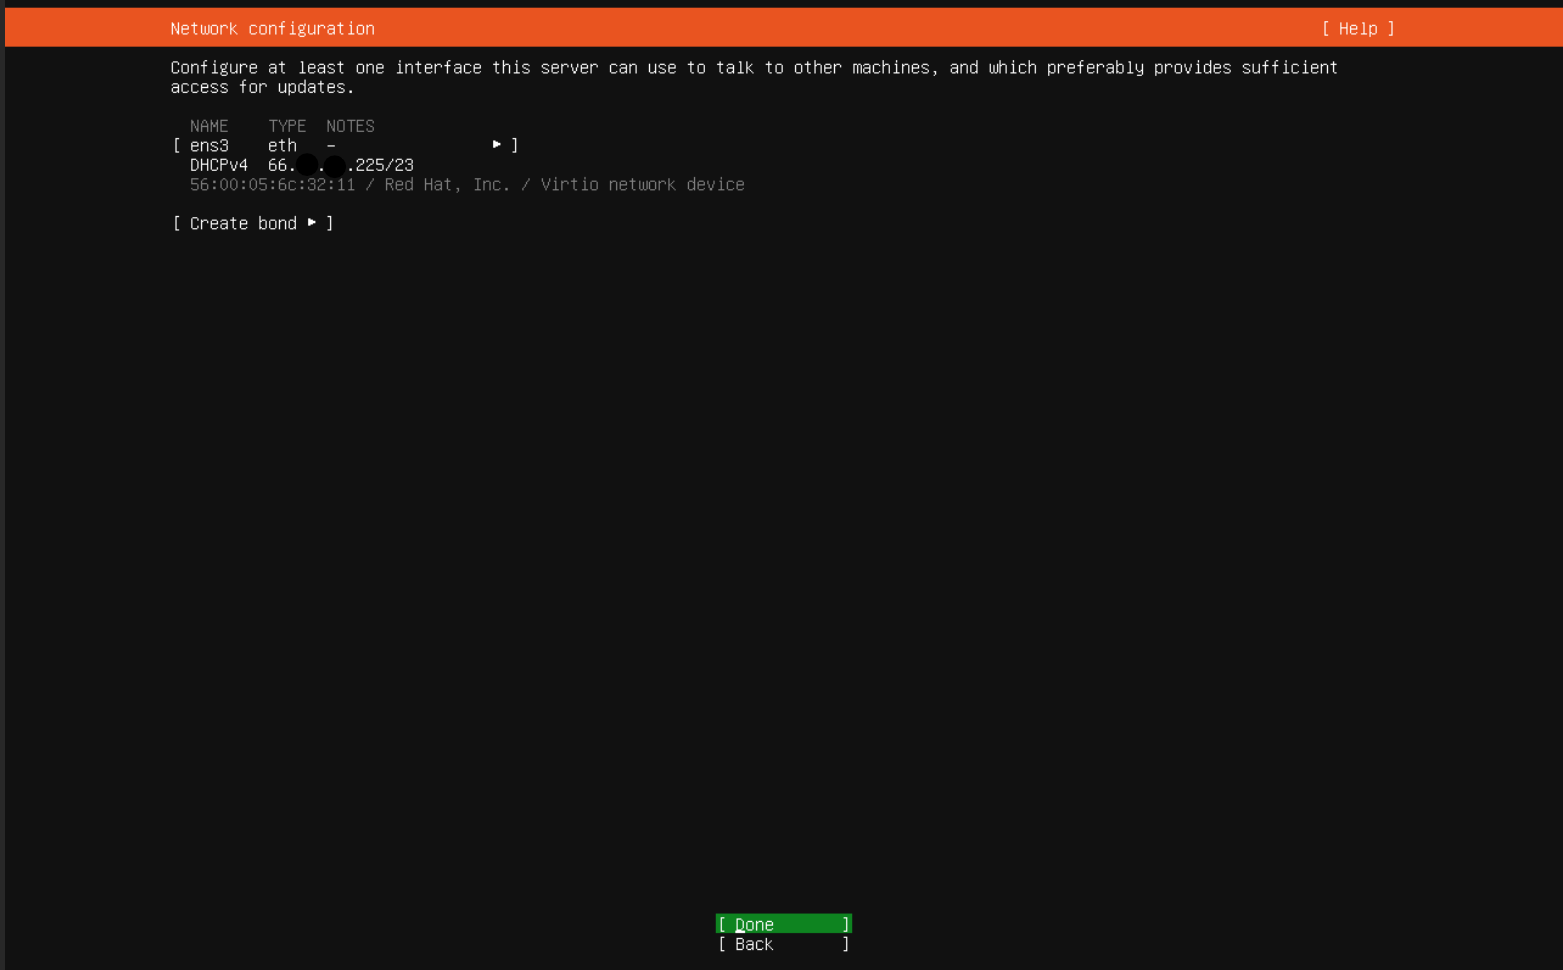
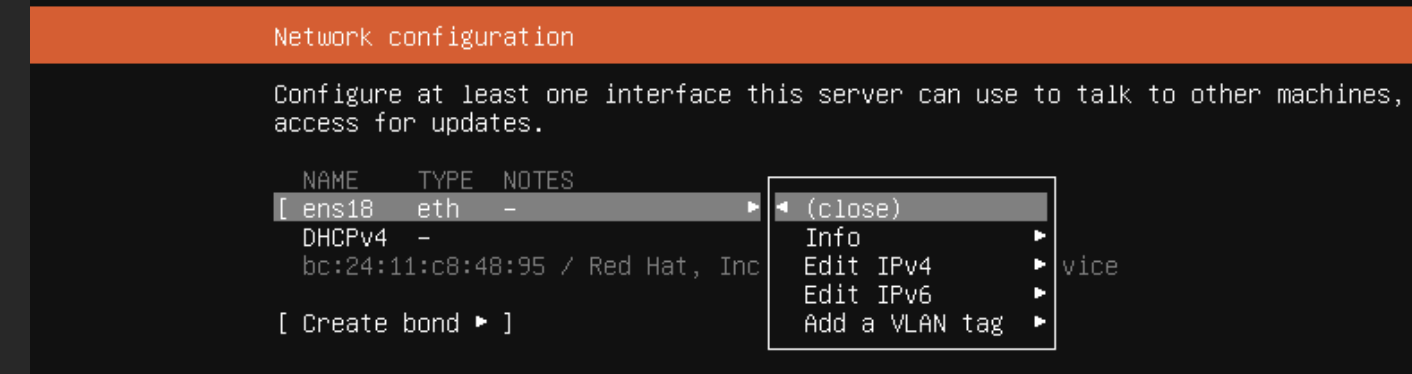
Older ISOs required that the DHCP IP be setup manually, but with a current version, you only need to confirm that DHCP successfully acquired an IP. Obviously if your network environment needs a more complex setup, it needs to be done here.

With the network configured, the install process proceeds to the Profile Configuration:

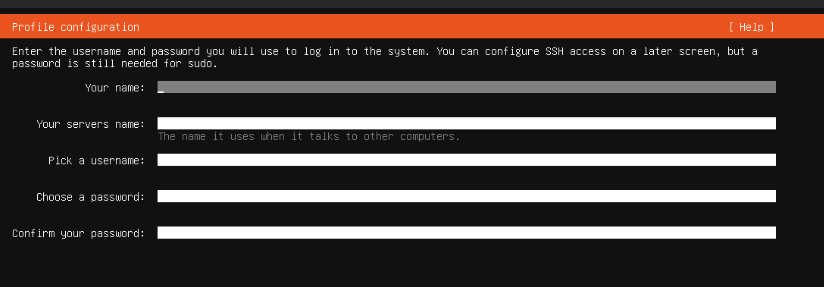
Here you will set a hostname and create a username and password for ssh access when the install has finished. Proceeding from this step will present you with one final confirmation:

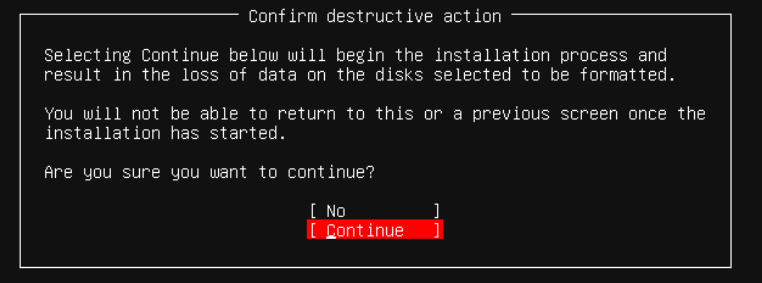
The installer makes you confirm that you wish to destructively write to disk and configure the system with a new OS and TangoPBX. If there’s nothing on the disk you need to save, choose Continue.

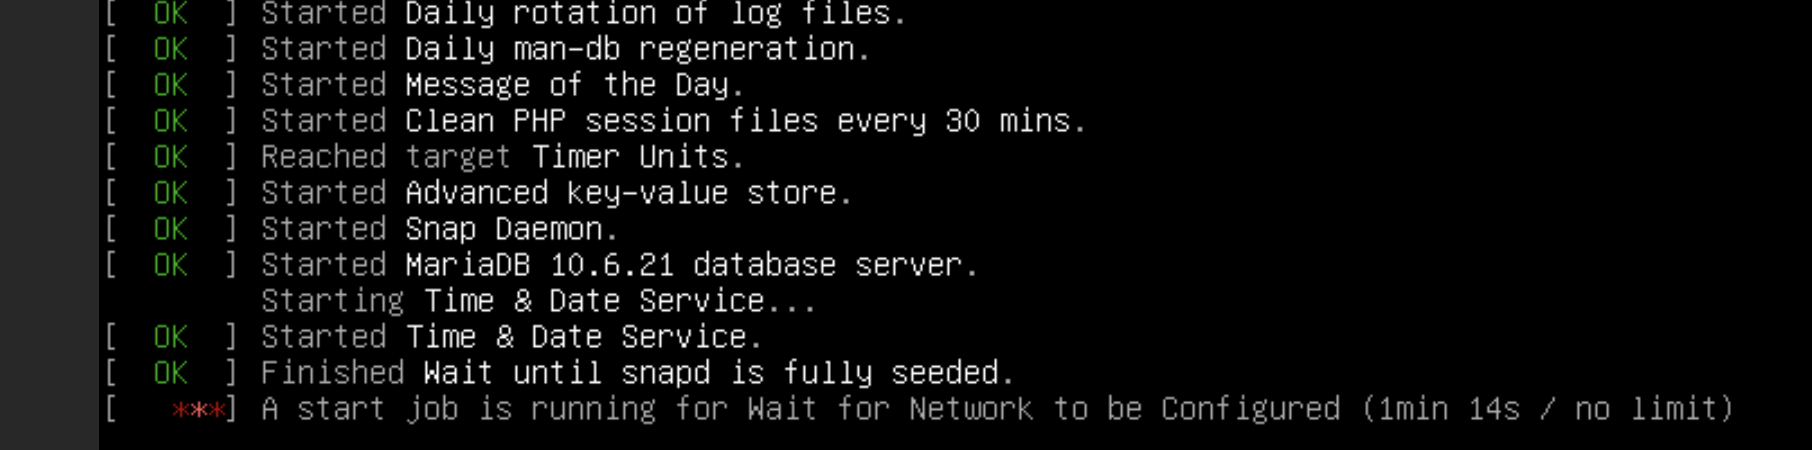
The install script proceeds with the various steps echoed to the console. The install may appear to stall at times, but you can see more log activity by selecting “View Full Log”:

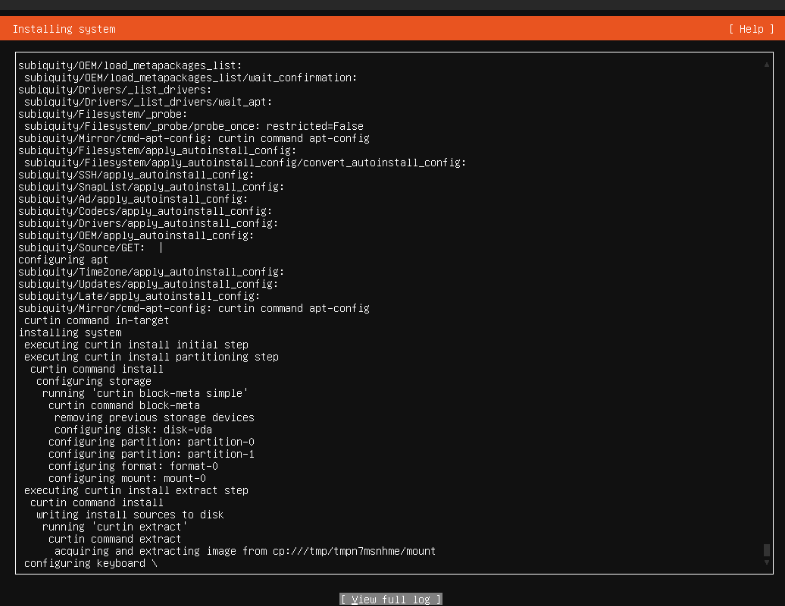
When the install finishes, you are prompted to reboot the system. At this point you want to unmount the ISO install media, and reboot.

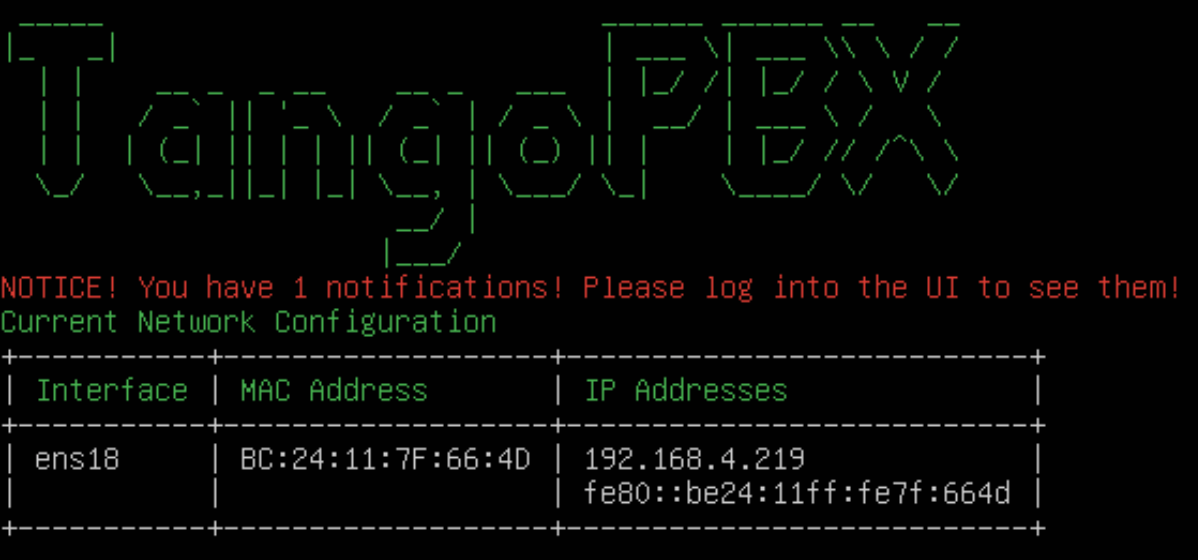
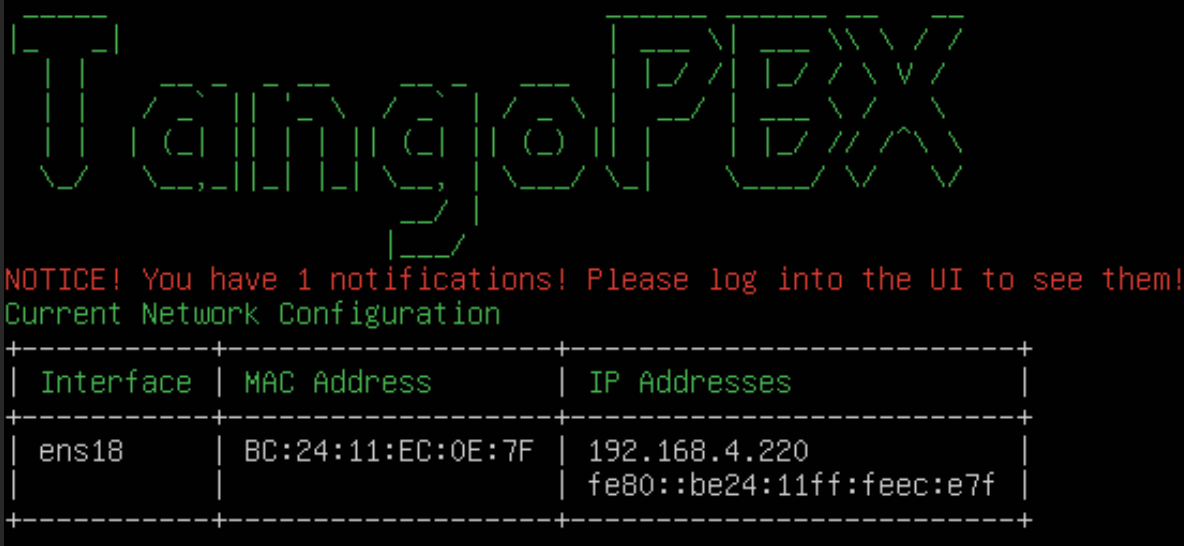
When the system boots up again, open a browser and browse to the IP address of the PBX http://ip_of_TangoPBX/

And continue with creating the GUI access account. You can login via ssh on port 22 using the credentials set during the install.

Need help? Head on over to the TangoPBX Distro category:
TangoPBX Distro - TangoPBX

5 Likes

First Look Using Proxmox 8.2.2

  1. ISO didn’t automatically populate IPv4 using DHCP. Had to enter Network adapter in GUI and choose IPv4 automatic DHCP option
  2. subiquity command with curtin took a very long time and appeared hung
  3. Turned out you had to click View Full Log to see what was happening
  4. wrong kernel version alert noting new kernel could not be handled automatically moving 5.15.0-119 to 139
  5. Had to close log to get to Reboot option
  6. Everything else was flawless. GREAT JOB but why 22.04, not 24.04??
  7. sudo halt appears to hang
1 Like
  1. I am not seeing that here in Proxmox. Maybe your DHCP server is being slow?
  2. This is stock Ubuntu so not sure what we can do on that if it takes awhile to install that is our of our control
  3. Yes this is how Ubuntu works at install time.
  4. I will look into this. Where are you seeing that?
  5. Yes when you go into full log you have to exit to get the reboot option in Ubuntu
  6. Because when we started this 22.04 was stable and 24.04 was just coming out and we did not want to be quite that bleeding edge for a PBX but we will be moving to 24.04 soon enough and it would jsut be a in place upgrade.
1 Like

Saw #4 switching to log view. Will try again on #1.

Looks like ens18 is disabled when the boot begins…

You have to edit the IPv4 setting and Save the DHCP option to get an IP address.

I noted the same in my walkthru on Vultr in the first post.

1 Like

For those of us that are old-fashioned, you might also want to disable IPv6:

Edit /etc/sysctl.conf and add:

net.ipv6.conf.all.disable_ipv6 = 1
net.ipv6.conf.default.disable_ipv6 = 1
net.ipv6.conf.lo.disable_ipv6 = 1

Then: sysctl -p

No IPV6 should not be disabled in this dang age. IPV6 is here to stay and should not be creating problems for people

4 Likes

I’ve updated post #1 with an updated link to the most recently published ISO. You can browse previous ISOs from this link

https://repo.tangopbx.org/service/rest/repository/browse/isos/
2 Likes

On Proxmox VM with new ISO, DHCP IPv4 network now fails on boot after install even when DHCP IPv4 is manually configured during setup. Can’t login at all even after network fails.

We have a updated version here that should fix the install issue. DHCP still requires you to pick it at install time and we are trying to get that resolved but that is the only known annoyance. https://repo.tangopbx.org/repository/isos/TangoPBX-22.05.0.0.RC1.iso

1 Like

Post 1 updated with link to the ISO for RC3. Previous release candidates have been removed from the repo.

https://repo.tangopbx.org/repository/isos/TangoPBX-22.04.5_1.0.0-RC3.iso

1 Like

After manual DHCP config, install completes successfully and login now works with Proxmox. Thanks for the updated ISO.

2 Likes

We have a RC4 here that should fix the DHCP issue that some users saw at install where you had to pick DHCP to get it to pull a IP. Can you test this RC 4 on your setup @NerdUno as it works for me in all my different VM and hardware test now.
https://repo.tangopbx.org/service/rest/repository/browse/isos/

[edit - post 1 edited with this new URL]

1 Like

Looks great to me. Thanks.

1 Like